반응형
Firebase messaging에는 두가지 방식이 있다.

- Notification messages delivered when your app is in the background. In this case, the notification is delivered to the device’s system tray. A user tap on a notification opens the app launcher by default.
- Messages with both notification and data payload, when received in the background. In this case, the notification is delivered to the device’s system tray, and the data payload is delivered in the extras of the intent of your launcher Activity.
즉 Notification 방식은 백그라운드 상태시 시스템 기본으로 동작하는 반면
Data 방식은 코드에 직접 구현한 onMessageReceived 메서드를 호출해서 개발자가 직접 구현을 해주면 된다.
https://firebase.google.com/docs/cloud-messaging/android/receive
Android 앱에서 메시지 수신 | Firebase
Firebase 알림의 동작은 수신하는 앱의 포그라운드/백그라운드 상태에 따라 달라집니다. 포그라운드 상태인 앱에서 알림 메시지 또는 데이터 메시지를 수신하려면 onMessageReceived 콜백을 처리하는
firebase.google.com
// 푸시를 받았을때 처리할 클래스를 구현한다.
class MyFirebaseMessagingService: FirebaseMessagingService() {

    // 오버라이드 하라고 경고를 띄운다.
    // 토큰이 갱신될때 호출되는 메서드
    // 따라서 새로운 토큰을 서버에 갱신하는 코드를 여기에 입력하면 된다.
    override fun onNewToken(p0: String) {
        super.onNewToken(p0)

        Log.i("FirebaseMessagingService", "New Token : $p0")
    }

    // 실제 푸시가 왔을때 호출되는 메서드
    override fun onMessageReceived(remoteMessage: RemoteMessage) {
        super.onMessageReceived(remoteMessage)

        Log.e("FirebaseMessageingService", "message : ${remoteMessage.data.toString()}")
        val title = remoteMessage.data["title"]
        val message = remoteMessage.data["message"]

        createNotificationChannel()

        // 노티를 직접 띄운다.
        val build = NotificationCompat.Builder(this, CHANNEL_ID)
            .setSmallIcon(R.drawable.ic_baseline_waves_24)
            .setContentTitle(title)
            .setContentText(message)
            .setPriority(NotificationCompat.PRIORITY_DEFAULT)
            .build()

        NotificationManagerCompat.from(this)
            .notify(1, build)
    }

    private fun createNotificationChannel() {
        if (Build.VERSION.SDK_INT >= Build.VERSION_CODES.O) {
            val channel = NotificationChannel(
                CHANNEL_ID,
                CHANNEL_NAME,
                NotificationManager.IMPORTANCE_DEFAULT
            )
            channel.description = CHANNEL_DESCRIPTION

            (getSystemService(Context.NOTIFICATION_SERVICE) as NotificationManager)
                .createNotificationChannel(channel)
        }
    }

    companion object {
        private const val CHANNEL_NAME = "Emoji Party"
        private const val CHANNEL_DESCRIPTION = "Emoji Party를 위한 채널"
        private const val CHANNEL_ID = "Channel Id"
    }

}

// AndroidManifest에 서비스로 등록해주자
<service
  android:name=".MyFirebaseMessagingService"
  android:exported="false">

  <intent-filter>

  	<action android:name="com.google.firebase.MESSAGING_EVENT" />

  </intent-filter>

</service>
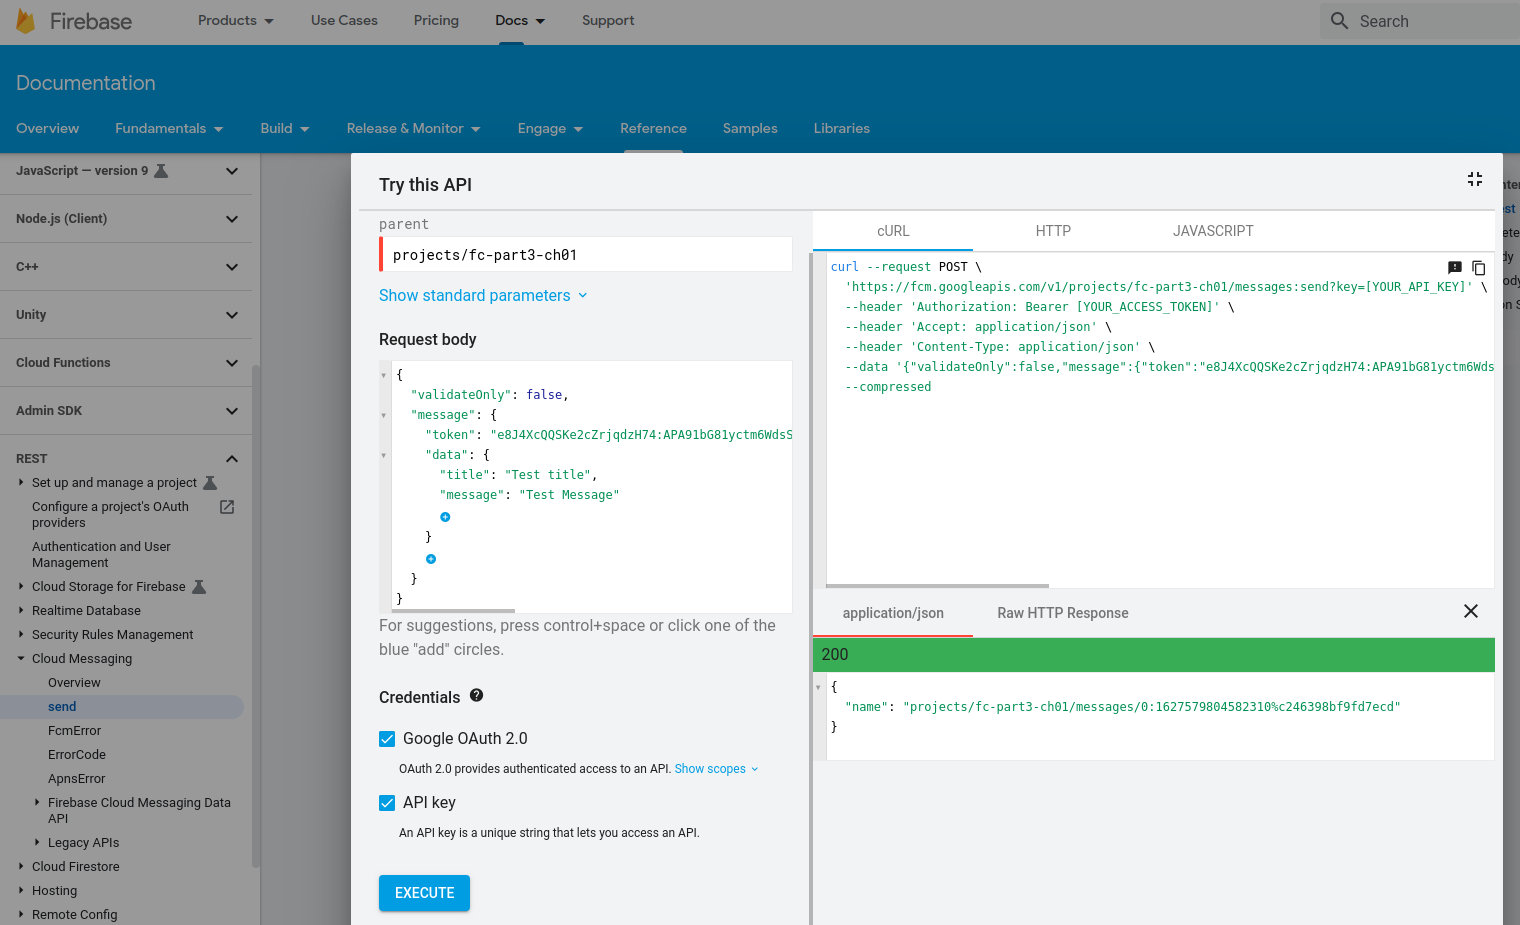
푸시 받을 코드를 구현 하고

위 주소를 통해 웹UI로 푸시를 보내 테스트를 진행하자
끝
반응형
'Android' 카테고리의 다른 글
| Clear text traffic (0) | 2021.07.31 |
|---|---|
| Firebase messaging 기초1 (0) | 2021.07.30 |
| Kotlin Sealed class, 상태관리 (0) | 2020.09.15 |